My 2008 Mazada 3 was downshifting unexpectedly when getting on the freeway and giving me the check engine and AT lights. I took it to my mechanic and he told me I had a short in my TCM. I then found out new TCMs are on national back order. I did some digging and discovered Upfix.
I should start this post by acknowledging that my knowledge of my car extends to popping the hood and pointing out the battery, engine, and coolant tank. Prior to this, the only fix I’d ever personally performed on my car (with over the phone instruction) was adding coolant after my coolant cap leaked on a long drive.
To take this on, I enlisted the help of my Dad and borrowed a metric socket wrench set from a neighbor. The metric socket set was very important because, initially, we only had a few metric wrenches. These worked on the bolts to remove the battery but we were stymied when trying to remove the bolts for the TCM. A ratcheting socket would have made things even easier. I believe the two most useful sockets were 10mm and 12mm. Also, wear gloves!
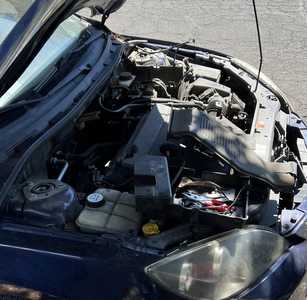
The TCM is located underneath the battery box so you need to remove the battery and the battery box to reach the TCM. For us, this was a bit harder than it sounds.
Step 1: Find the battery and remove the cover.
Step 2: Loosen the bolts on the battery terminals and remove the terminals, negative first.
Step 3: Remove the bolts on the metal piece that holds the battery down. Remove that piece and then remove the battery.
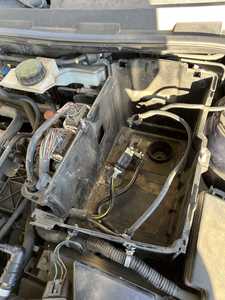
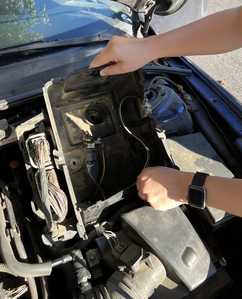
Step 4: Remove the three bolts at the bottom of the battery box. In one video we watched, the person was able to remove the battery box entirely. This was not the case for us. It seemed like it was still connected to other things and we broke one plastic piece while trying to futz with it. The front of the box does compress inward (towards the cabin) to allow the back of the box lifts forward, so we did that.
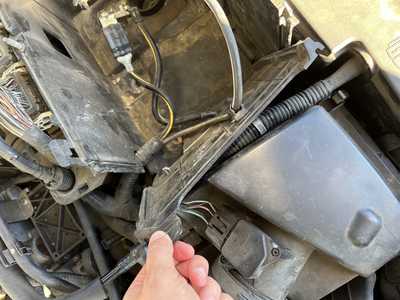
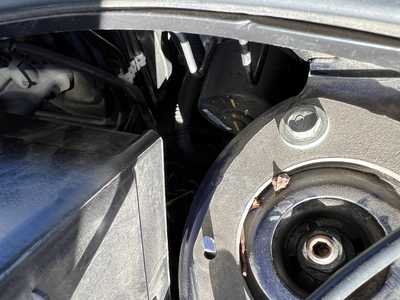
Step 5: The downside of not being able to fully remove the box was that it was harder to see what we were doing when removing the TCM. There are three bolts on the TCM. Two on each side and one on the front. The front one is shorter than the side two. My dad was able to do it mostly by feel but the bolts were very tight and it took quite a bit of brute strength. There is a big metal piece that blocks access so this is why a ratcheting wrench would have helped. Regardless, it was quite tricky to get access to the bolts. We considered removing the metal piece but it felt like it might open up a can of worms. At one point, we did try it, but realized the bolt had been fastened with a torque wrench and wasn’t going to move.
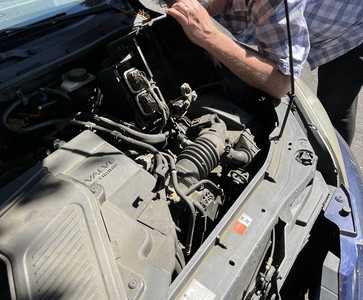
All in all it took us about 2 hours to complete but we got it out. Here are some photos. Where the TCM actually is is quite hard to photograph if you can't remove the battery box. I got out a wire camera that I have for going into pipes that I tried to use but I still couldn't really get it. The light on the end worked as a flashlight though and that helped a bit. While I hope this post is helpful as a starting place, I highly recommend watching a few YouTube videos before you get started.
Thank you for detailed instructions on removing TCM from 08 Mazda3 .
Here is more info on the Mazda 3 TCM repair service
https://www.upfix.com/product/tcm-mazda-3-2006-2014-transmission-control-module-repair-tcm-tcu/


